
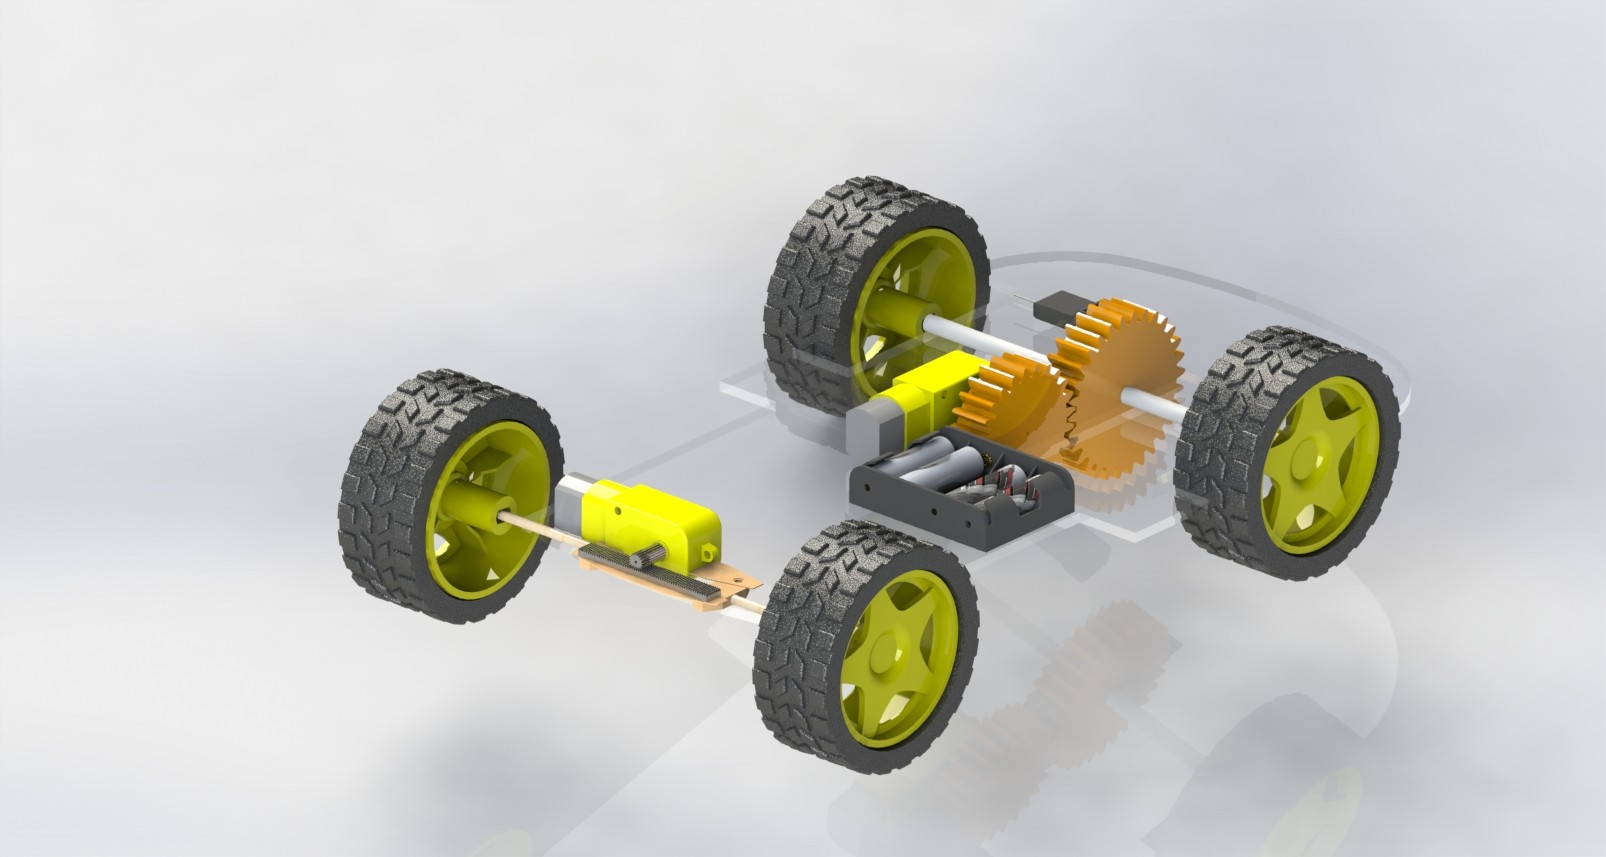
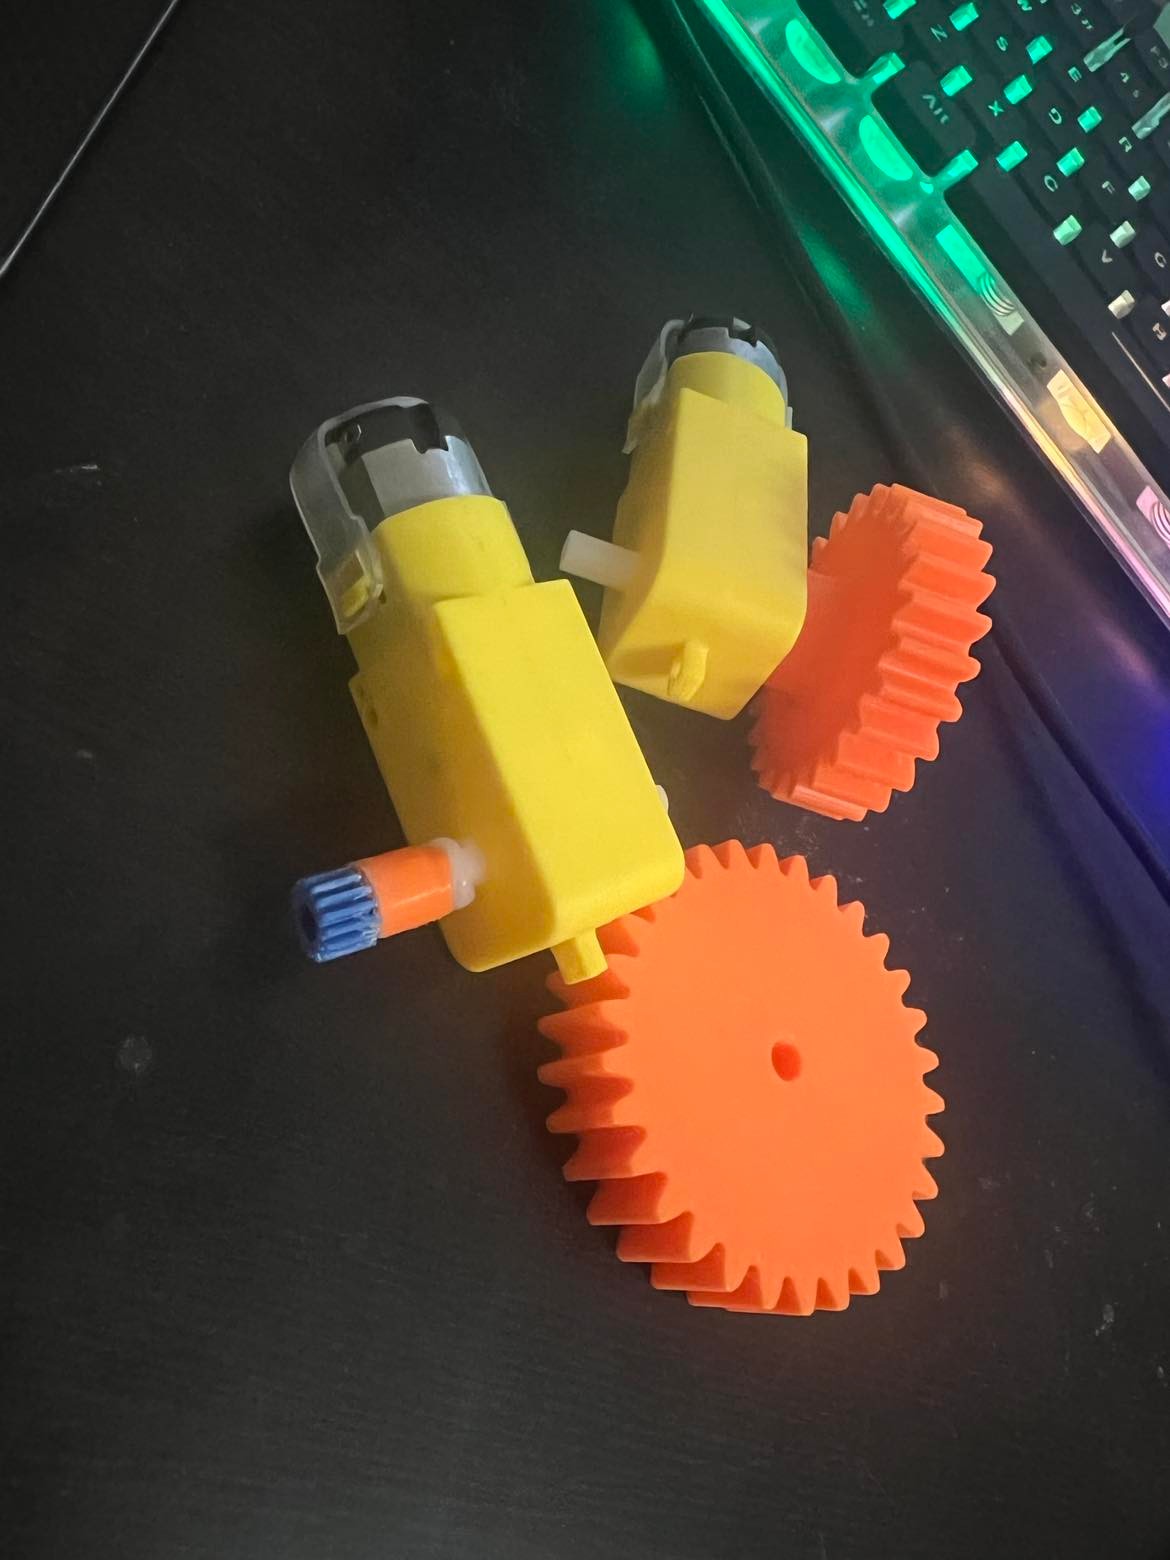
3D printed gears for transmission and steering mechanism
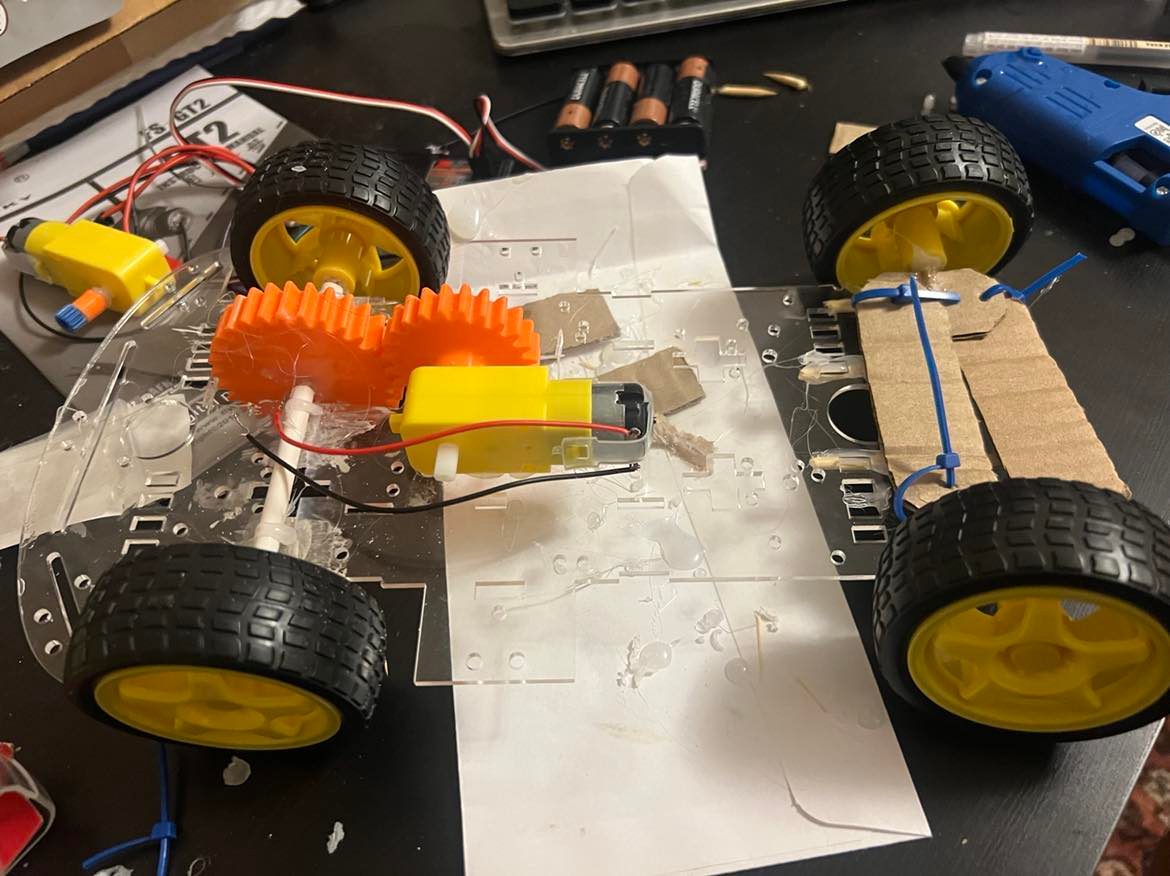
Cardboard cutouts for steering mechanism (Parallel Motion (Push/Pull) linkage)
Results/Lessons Learned
Always design for tolerance!!!!
Find creative solutions to redesign/re-engineer a component (given that it is cost-effective, non-time-extensive, and doesn't breach the component's functions/objectives/constraints. For example, when the gears I printed didn't have enough tolerance to fit the motor shaft, I heated the gear with a lighter and while it is semi-soft, I pushed the gear into the shaft to make it conform to the right geometry. This saved me printing time and cost.
Always check for multiple supplier channels - got components for too high of a price in a robotics store VS. cheaper on Amazon
YouTube and online tutorials are super helpful when you don't know how to use a part. For example, I did not know how to wire up the ESC to the receiver/transmitter circuit at all. Luckily, I found useful tutorials that taught me what the different channels do and what polarity each of the wires corresponded to.
I got to practice my soldering skills a lot more too, since I had to solder all the wires in my receiver circuit.
When gluing things together, bear in mind which components move TOGETHER and which ones move INDEPENDENTLY! For instance, when I was gluing the axle+wheels sub-assembly to the car, I overlooked the fact that the axle needs to rotate about an axis independently, in order to drive rotary motion from the wheels.
Steering mechanism (parallel linkage) animation
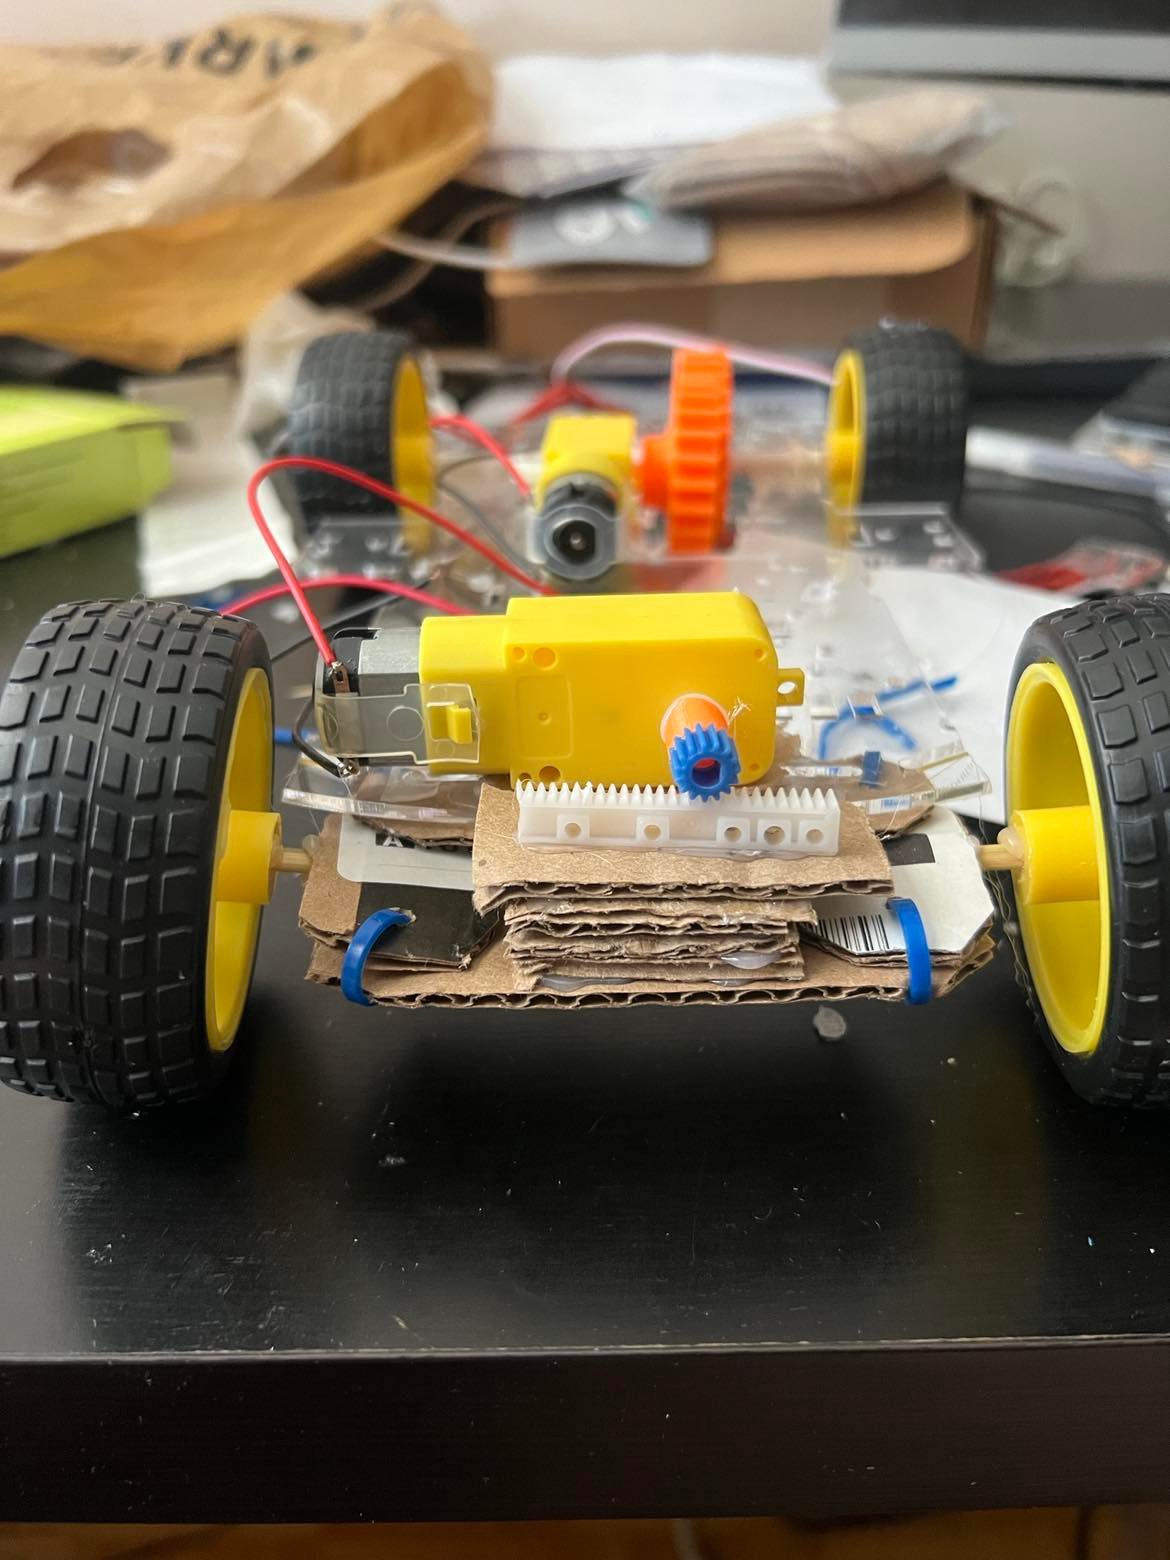
Back View
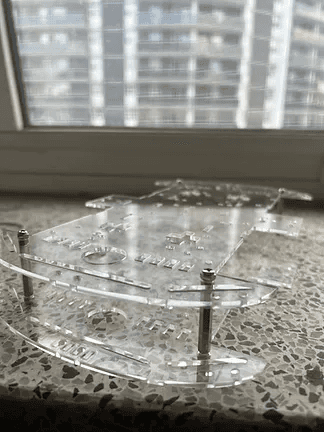
Chassis
Transmission mechanism demo (1st channel)
Steering mechanism demo (2nd channel)